elk mac 安装
$brew install elasticsearch
但可能遇到问题,比如要求Java的版本是1.8(我安装的Elasticsearch的按本是5.2.2),这里面可能涉及到还要安装brew cast用来安装java8, 然后又提示还有其他依赖(后悔没记录下来。。。),而需要xcode-command-tool, 折腾了不少时间。
安装完成后,可以查看elasticsearch的版本:
$elasticsearch –version
Java HotSpot(TM) 64-Bit Server VM warning: Cannot open file logs/gc.log due to No such file or directory
Version: 6.2.4, Build: ccec39f/2018-04-12T20:37:28.497551Z, JVM: 1.8.0_144
启动和停止elasticsearch也很简单:
brew services start elasticsearch
brew services stop elasticsearch
$brew services start elasticsearch
==> Successfully started elasticsearch (label: homebrew.mxcl.elasticsearch)
使用brew重启会导致当前用户注销
改用 $elasticsearch -d 即可启动
1.查找ES进程
ps -ef | grep elastic
2.杀掉ES进程
kill -9 2382(进程号)
浏览器访问http://localhost:9200可以看到Elasticsearch的信息:
{
“name” : “wd5Lx2c”,
“cluster_name” : “elasticsearch_didi”,
“cluster_uuid” : “jpL7o5esSX6tqg_DfzgNig”,
“version” : {
“number” : “6.2.4”,
“build_hash” : “ccec39f”,
“build_date” : “2018-04-12T20:37:28.497551Z”,
“build_snapshot” : false,
“lucene_version” : “7.2.1”,
“minimum_wire_compatibility_version” : “5.6.0”,
“minimum_index_compatibility_version” : “5.0.0”
},
“tagline” : “You Know, for Search”
}
接着安装logstash:
brew install logstash
安装好后查看版本:
$ logstash –version
logstash 6.2.4
$ brew services start logstash
==> Successfully started logstash (label: homebrew.mxcl.logstash)
1.查看kafka对应的进程号
| ps aux | grep kafka |
| ps -ef | grep kafka |
2.查看端口对应的进程号
lsof -i:9092
3.根据进程号查看对应的信息,比如端口啥的
| netstat -anop | grep PID |
查看mac终端端口命令 netstat -AaLlnW
上面失败了
$logstash -e ‘input { stdin { } } output { stdout {} }’
成功了
浏览器访问http://localhost:9600可以看到如下信息:
{“host”:”bogon”,”version”:”6.2.4”,”http_address”:”127.0.0.1:9600”,”id”:”d9a95526-d29d-40e0-8673-4b9177e437bc”,”name”:”bogon”,”build_date”:”2018-04-12T22:29:17Z”,”build_sha”:”a425a422e03087ac34ad6949f7c95ec6d27faf14”,”build_snapshot”:false}
Kibana不需要通过brew安装,直接下载压缩包后,解压后执行./kibana即可。不过我还是在/usr/local/bin/下创建了kibana和kibana-plugin的软连接, elasticsearch,elasticsearch-plugin,logstash和logstash-plugin都在这个目录下,以后安装插件的话,还都需要用上这些*-plugin.
Kibana安装完成后,需要在config/kibana.yml文件中,确认elasticsearch.url: “http://localhost:9200”
启动kibana
$ bin/kibana
log [02:55:59.218] [info][status][plugin:kibana@6.3.0] Status changed from uninitialized to green - Ready
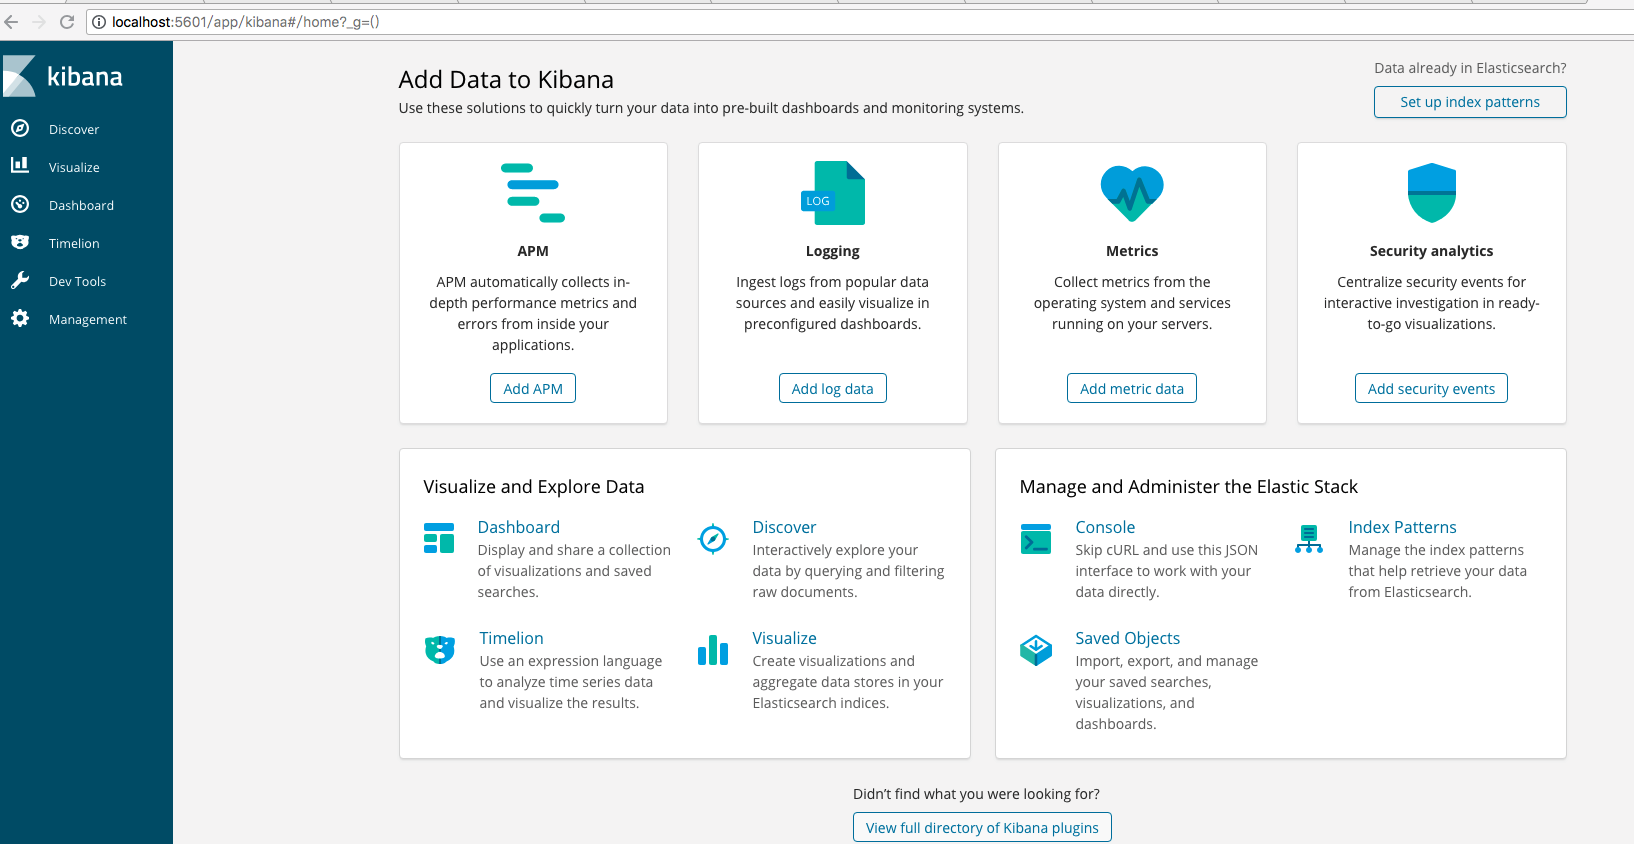
查看:http://localhost:5601/
提示:
Login is currently disabled. Administrators should consult the Kibana logs for more details.
日志:
X-Pack plugin is not installed on the [data] Elasticsearch cluster
x-pack是elasticsearch的一个扩展包,将安全,警告,监视,图形和报告功能捆绑在一个易于安装的软件包中,虽然x-pack被设计为一个无缝的工作,但是你可以轻松的启用或者关闭一些功能
1、elsaticsearch 安装 x-pack
/usr/local/bin/elasticsearch-plugin install x-pack
Continue with installation? [y/N]y
ERROR: installation aborted by user
$sudo /usr/local/bin/elasticsearch-plugin install x-pack
WARNING: Improper use of the sudo command could lead to data loss
Continue with installation? [y/N]y
Elasticsearch keystore is required by plugin [x-pack-security], creating…
-> Installed x-pack with: x-pack-core,x-pack-deprecation,x-pack-graph,x-pack-logstash,x-pack-ml,x-pack-monitoring,x-pack-security,x-pack-upgrade,x-pack-watcher
2、kibana 安装 x-pack
$bin/kibana-plugin install x-pack
Kibana now contains X-Pack by default, there is no longer any need to install it as it is already present.
未安装前,使用elasticsearch-head、kibana、客户端连接时都不要用户名/密码验证。而安装之后,统统需要用户名/密码验证才能访问。
默认用户名/密码
x-pack 安装完后,提供了几个默认的用户名/密码可以使用,如下:
elastic/changeme
kibana/changeme
logstash_system/changeme
elastic 用户拥有全部的权限,显然需要更改掉默认密码,通过如下的接口可以更改密码,示例:
curl -XPUT -u elastic ‘localhost:9200/_xpack/security/user/{username}/_password’ -H “Content-Type: application/json” -d ‘{
“password” : “newpassword”
}’
{username} 占位符代表需要修改密码的用户。
head 插件配置
之前的访问都是通过http://127.0.0.1:9100即可,安装x-pack之后,首先需要更改elasticsearch.yml的配置:
http.cors.enabled: true
http.cors.allow-origin: “*”
http.cors.allow-headers: Authorization,Content-Type
前两个配置没什么注意的,很多人都知道。关键是第三个,官方描述上面也只是说了添加http.cors.allow-headers: Authorization即可
log [03:14:49.412] [warning][license][xpack] License information from the X-Pack plugin could not be obtained from Elasticsearch for the [data] cluster. [invalid_index_name_exception] Invalid index name [xpack], must not start with ‘’., with { index_uuid=”na” & index=”xpack” } :: {“path”:”/_xpack”,”statusCode”:400,”response”:”{"error":{"root_cause":[{"type":"invalid_index_name_exception","reason":"Invalid index name [_xpack], must not start with ‘’.","index_uuid":"na","index":"xpack"}],"type":"invalid_index_name_exception","reason":"Invalid index name [_xpack], must not start with ‘’.","index_uuid":"na","index":"_xpack"},"status":400}”}
修改kibana 配置的用户名密码
vi config/kibana.yml
elasticsearch.username: “user”
elasticsearch.password: “pass”
配置elasticsearch.yaml
xpack.security.enabled:(true/false) 是否开启安全验证
xpack.monitoring.enabled 是否开启监控
xpack.graph.enabled 是否开启图形
xpack.watcher.enabled 是否开启watcher 仅仅es配置
xpack.reporting.enabled 是否开启报表仅仅kibana配置
$vi /usr/local/etc/elasticsearch/elasticsearch.yml
xpack.security.enabled: false
可以关闭xpack
$ls -al /usr/local/bin/elasticsearch-plugin
lrwxr-xr-x 1 didi admin 54 6 28 19:59 /usr/local/bin/elasticsearch-plugin -> ../Cellar/elasticsearch/6.2.4/bin/elasticsearch-plugin
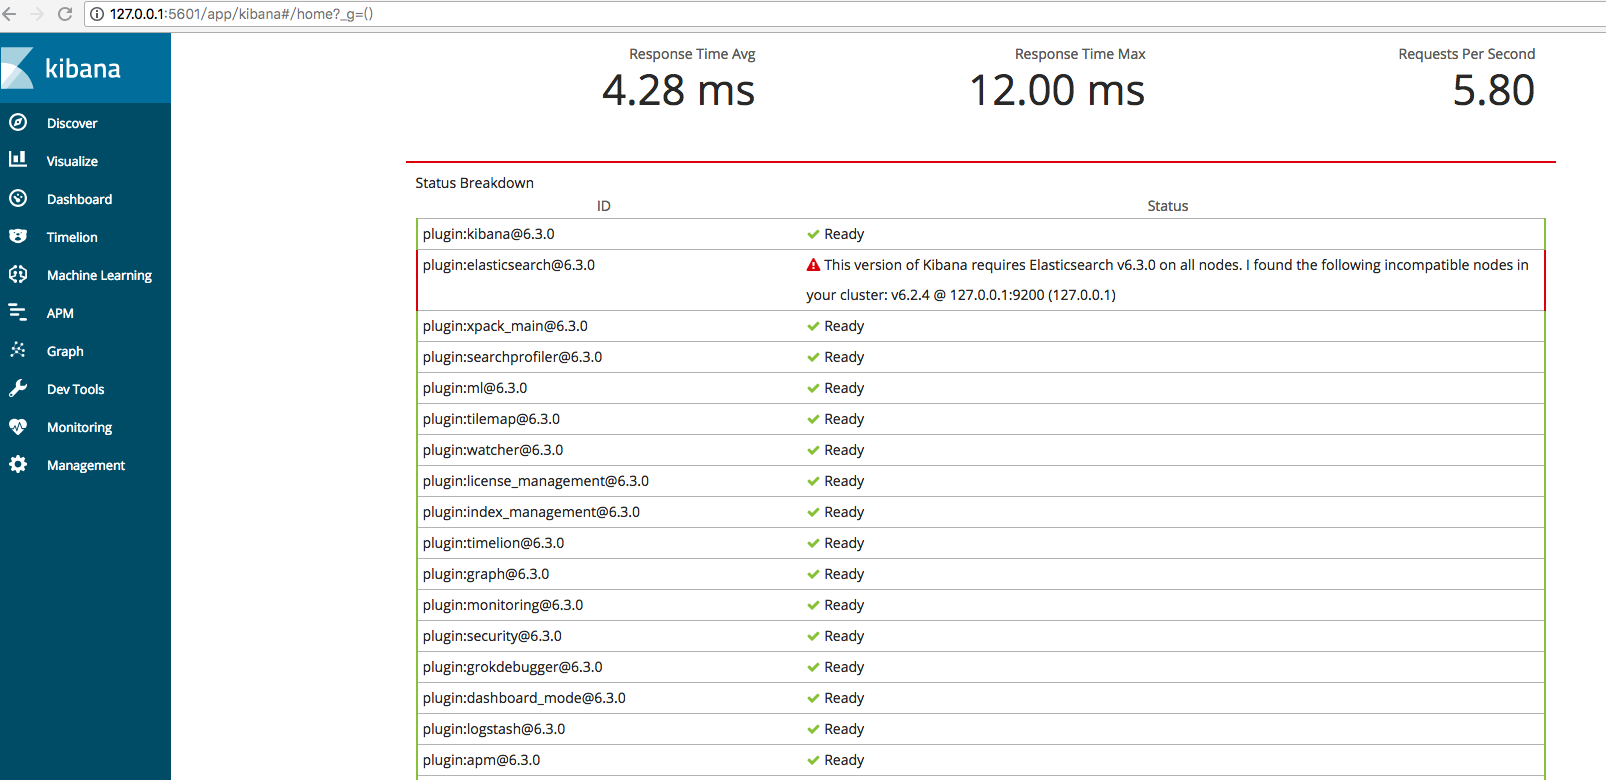
http://127.0.0.1:5601/app/kibana#?_g=()

kibana版本过高
https://www.elastic.co/guide/en/kibana/6.2/targz.html
curl -O https://artifacts.elastic.co/downloads/kibana/kibana-6.2.4-darwin-x86_64.tar.gz
$/Users/didi/elk/kibana-6.2.4/bin/kibana
log [06:38:21.305] [info][listening] Server running at http://localhost:5601
log [06:38:21.342] [info][status][plugin:elasticsearch@6.2.4] Status changed from yellow to green - Ready

至此安装完毕
